If you work on a
laptop or use Bluetooth adapter in PC, so you follow my guide for
creating the hotspot in Windows PC for sharing Internet Connection with
Others Laptop and Mobiles.
You can create the hotspot in Windows 7 and Windows 8 PC in just one click.
Also Read
Turn your Laptop into WIFI hotspot in One Click Without Software
Follow the below steps for creating hotspot in Windows 7 for sharing Internet Connection.
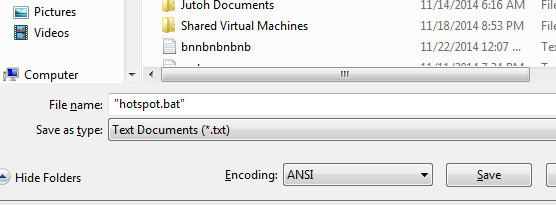
1. Open notepad, copy the below lines and paste in your notepad.
netsh wlan set hostednetwork mode=allow ssid=prophethacker key=prophethacker
netsh wlan start hostednetwork
netsh wlan start hostednetwork
3. Open your file with run as administrator and your wifi Hotspot is ready.
Now your Hotspot is ready but Internet Sharing is not configured. So this time, you need to do some simple task.
Configured Internet Sharing Settings
Now
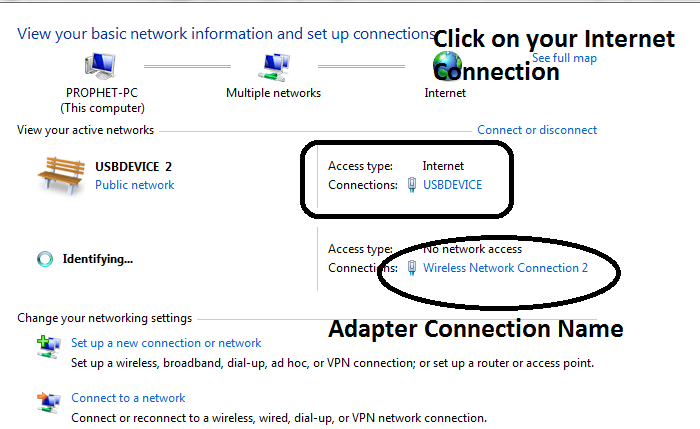
click Control Panel > Network and Internet > Network and Sharing
Centre >, right-click your internet connection that you wanna share
it and select Properties. Click the Sharing tab, check “Allow other
network users to connect…”, – and that’s it.
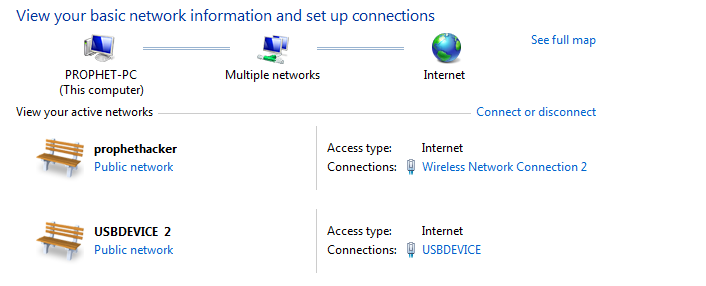
In above Picture, You see Internet Connection is enabled in prophet hacker network that created by bat file.
So When you need Shared Internet Connection , you just need to right click on your hotspot.bat file with run as administrator. You don’t need to do Configured Settings
Any
nearby Wi-Fi enabled device should see a new network appear with the
SSID you defined above. They’ll be able to connect to it using your
password, and can then immediately share your internet connection.
Related Posts:


No comments:
Post a Comment